
Supplies:
- wooden block of any size
- nails that extend approximately 1/2 inch past the block when hammered through
- hammer
- drill and drill bit a tad smaller than the nails you're using.
- template to drill holes, optional
- spray primer or paint
I found this wooden block in the unfinished wood section of my local craft store. I liked that it was rectangular in shape, so it could be used one way to showcase cards and it could be used the other way to showcase layouts.

I used to do a lot of cross-stiching in the past and just happened to have a pad of paper that has grids on it to help create cross-stitching patterns. I marked off where I wanted the nails to be, cut the paper to size and then taped it to the underside of the block.

I drilled holes where I marked an "x". This is the longest step in making a floral frog...unless you were super meticulous in the previous step. :)
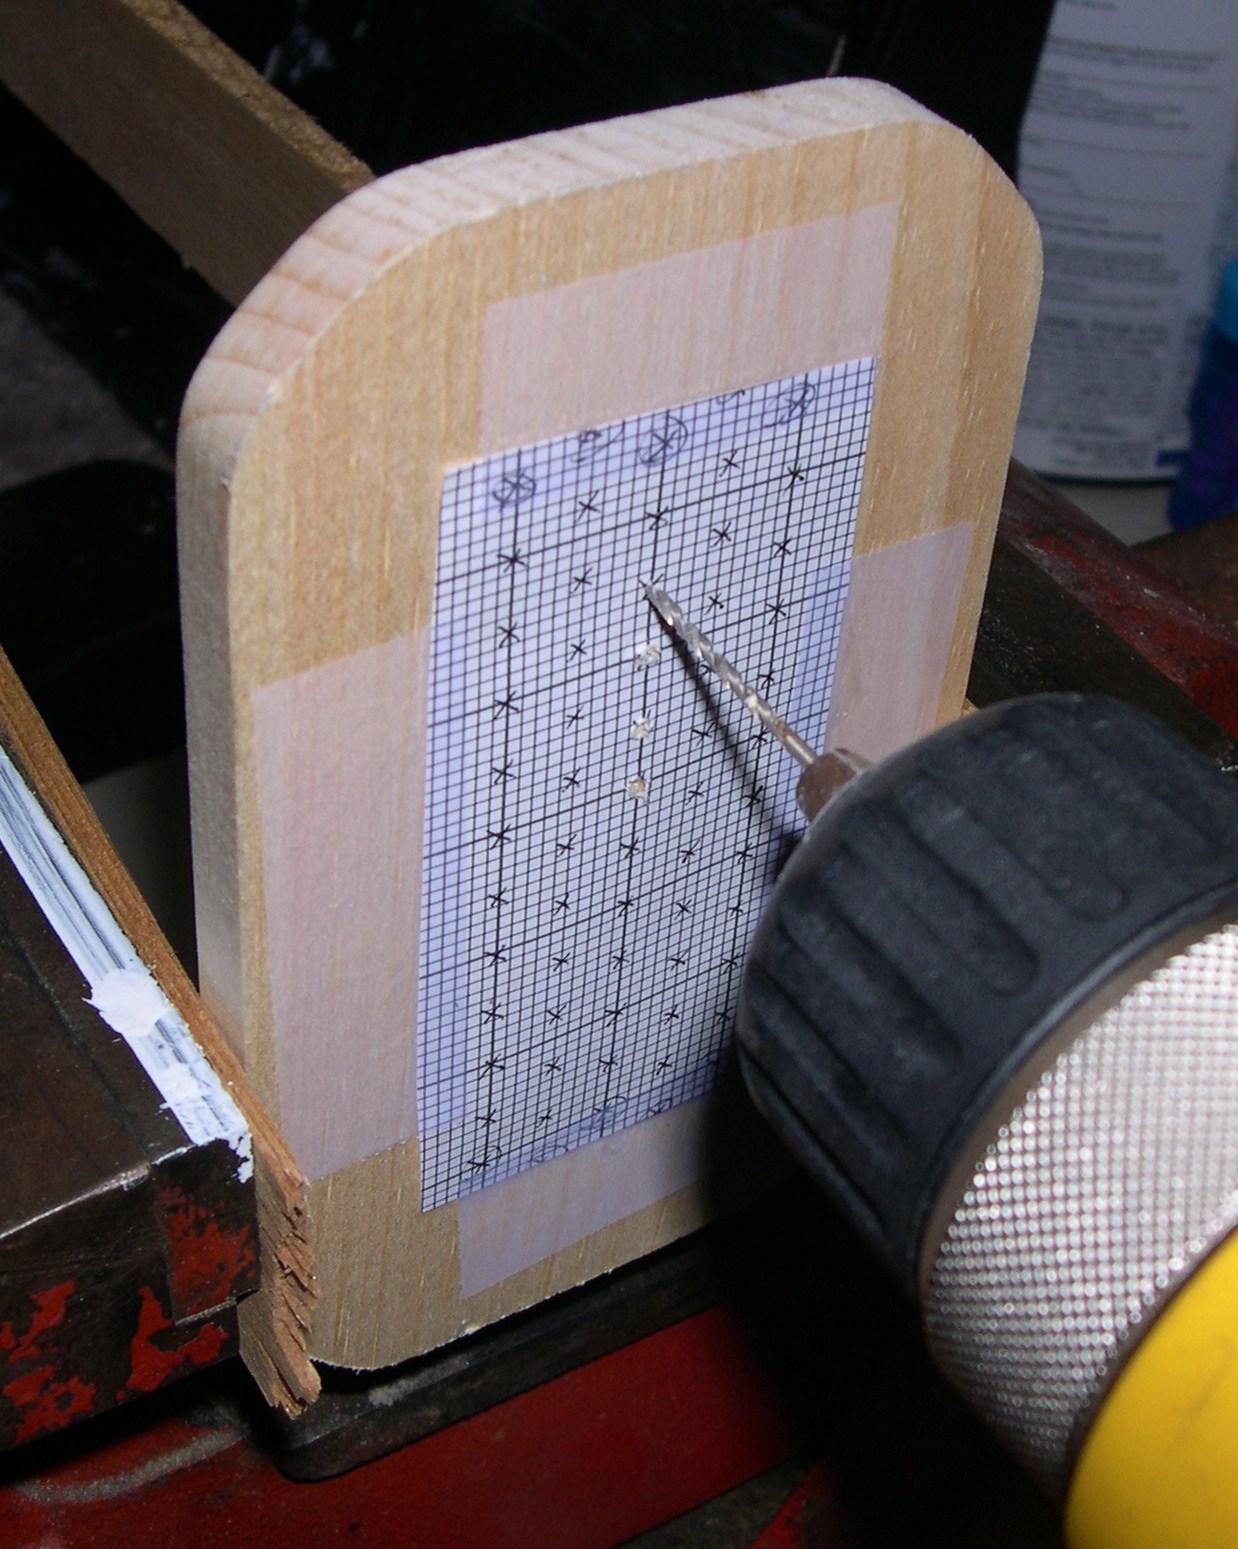
Now in retrospect, I should have done the drilling through the top of the block as I didn't think to consider the fact that the wood would split where the drill bit comes through.
 This picture shows the type of nail I used, as well as the drill bit that broke while drilling one of the first holes. Think the hubs will notice that it's missing? :/
Me being somewhat of a perfectionist, I couldn't leave the board looking like a splintered mess. I sanded down the splinters, used some spackle to fill in deep gouges, sanded that down to get to this point:

At this point, I nailed the nails in through the backside of the block.

Once all of the nails were in, this is what the floral frog looked like. This is the type of primer I used to spray mine with, but you can use any kind of spray paint/primer.

It took a few coats of primer to cover the floral frog completely.

And here's the final product!

I have to say, I'm pretty pleased with the way this turned out! I hope this adds something special to your crafty pictures!

I can't wait to make one of these! Great idea!
ReplyDeleteLovely! Seriously want to make one...time, where has the time gone. GREAT JOB!
ReplyDelete